Finding the perfect salvaged door
I was intimidated by the idea of refinishing my own salvaged door – then I did it and I love it!
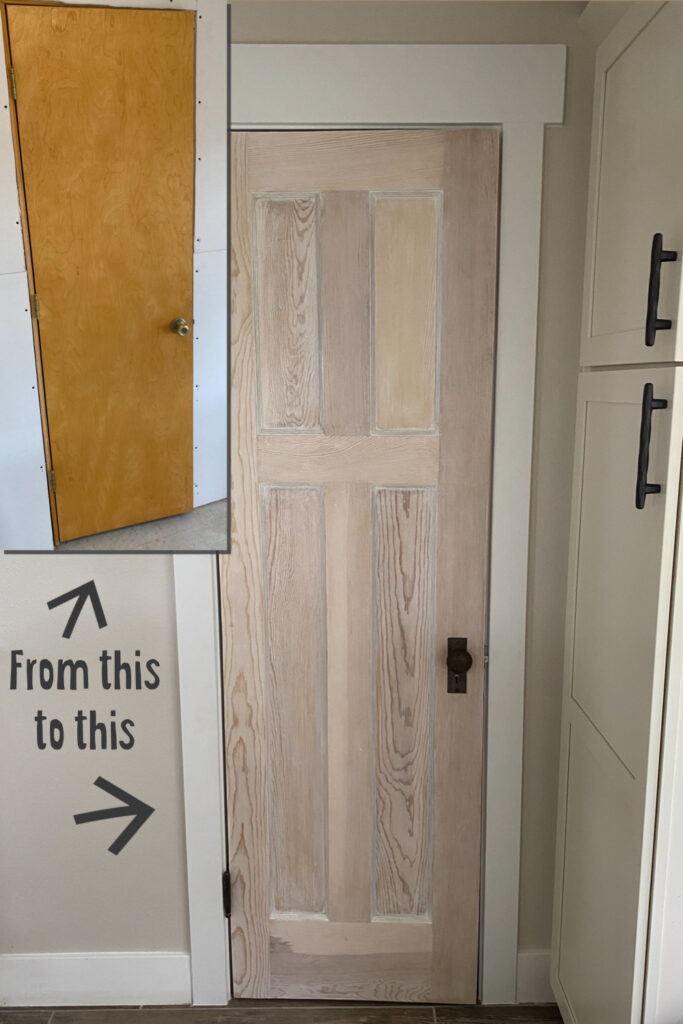
During our kitchen and pantry remodel I realized how out-of-place the old 90s-style hollow core yellow door would look with all the other nice finishes.
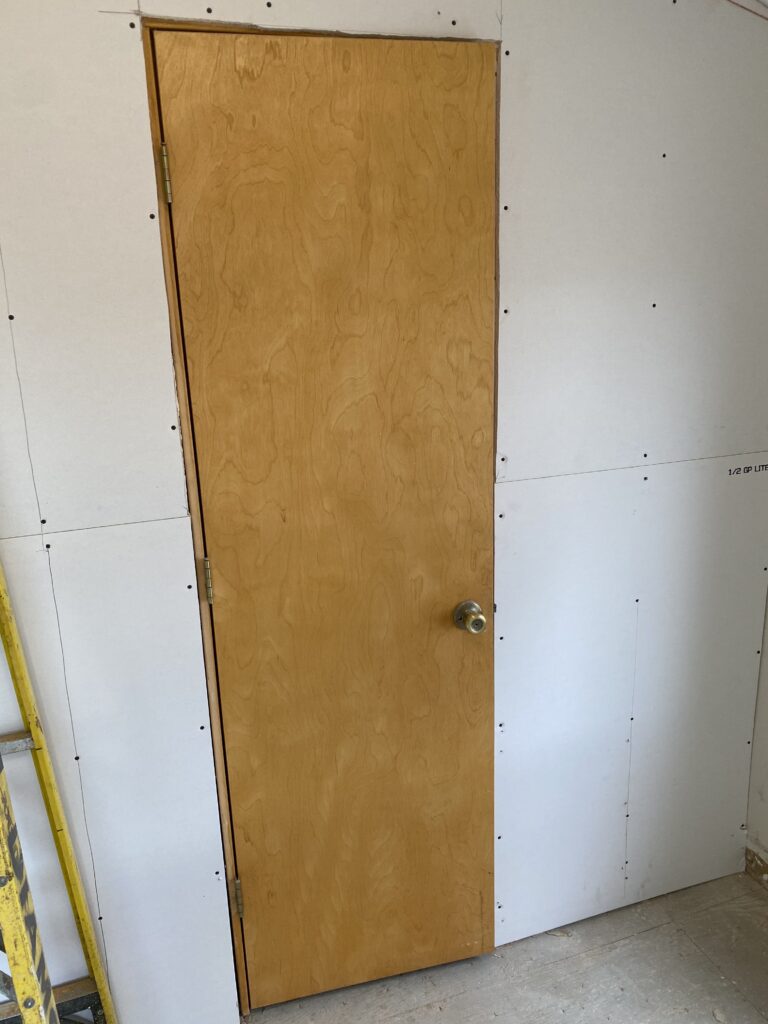
The supply chain issues on building supplies made it almost impossible to find something that would fit with all our other doors anyway, so I decided a cool contrast was the way to go.
We found Queen City Architectural Salvage, just north of Denver, and decided to head over to see what we could find. Since it’s only open Mondays, Fridays, and Saturdays, we had to schedule enough time to ensure we wouldn’t be in a rush.
The doors were all organized in a shed by width, so we flipped through them like a deck of giant cards. Since we needed an odd size, there was really only one door that fit the bill. Luckily, it was perfect.
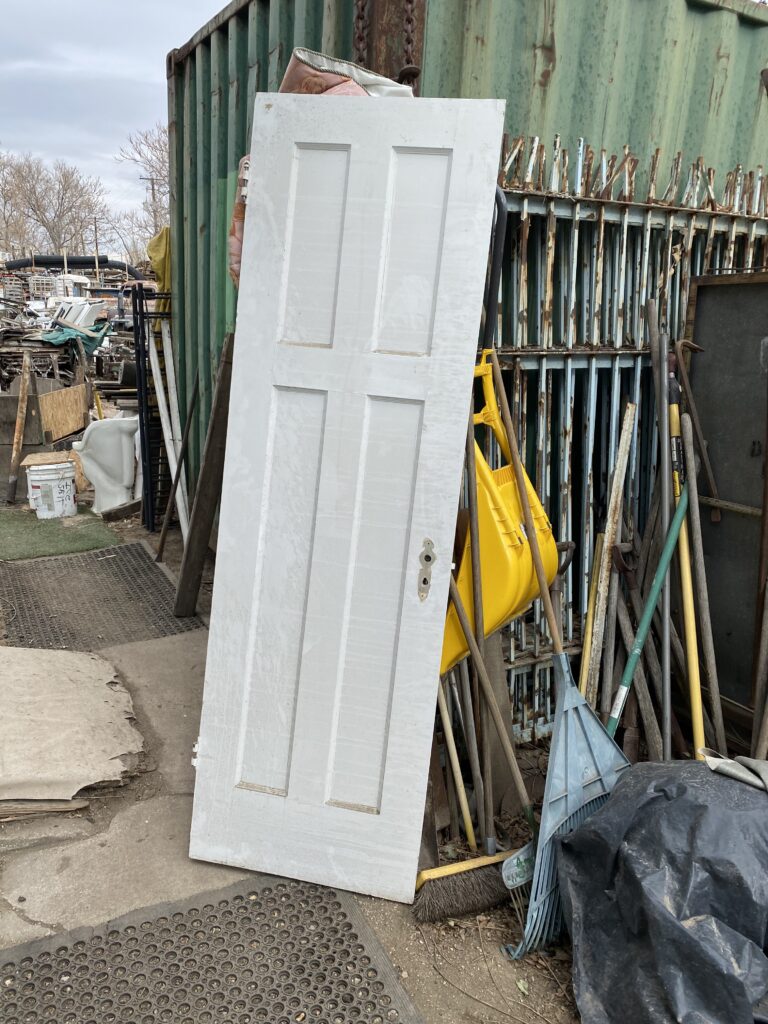
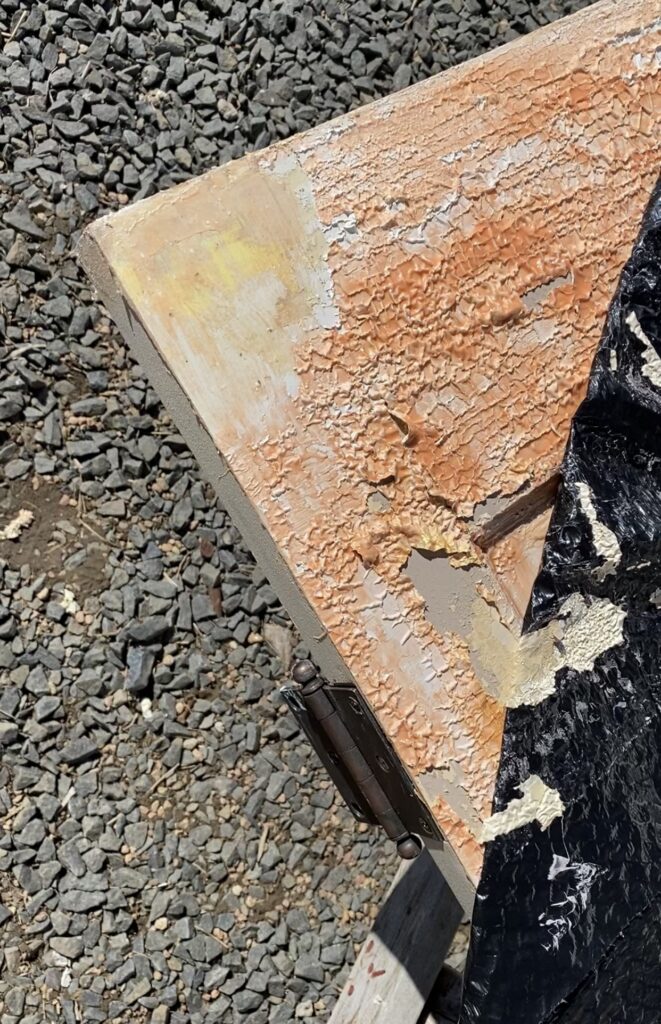
It was a little dirty but definitely solid. Based on how it looked, it had to have about 40 coats of paint over the years. The proprietor of the yard told us he had pulled it out of an old hotel where it was a closet door. I was in love.
Check out my web story on this door refinishing – it includes video of the process.
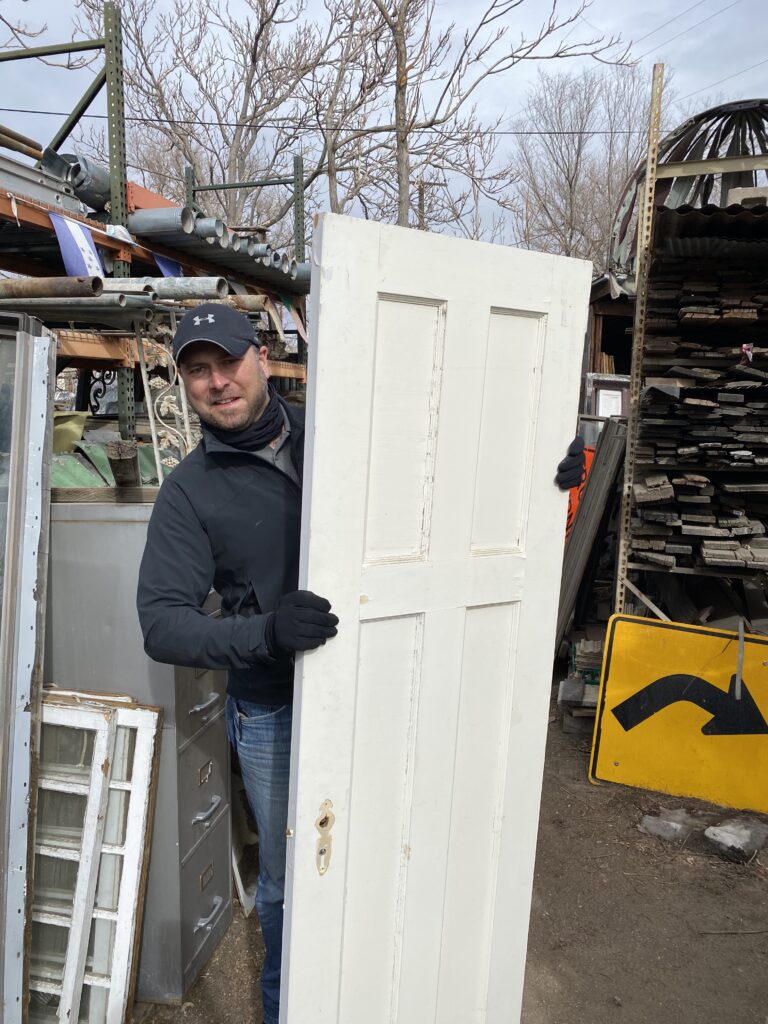
I would recommend reserving several hours to look for gems in an architectural salvage yard – there’s something new and exciting around each corner.
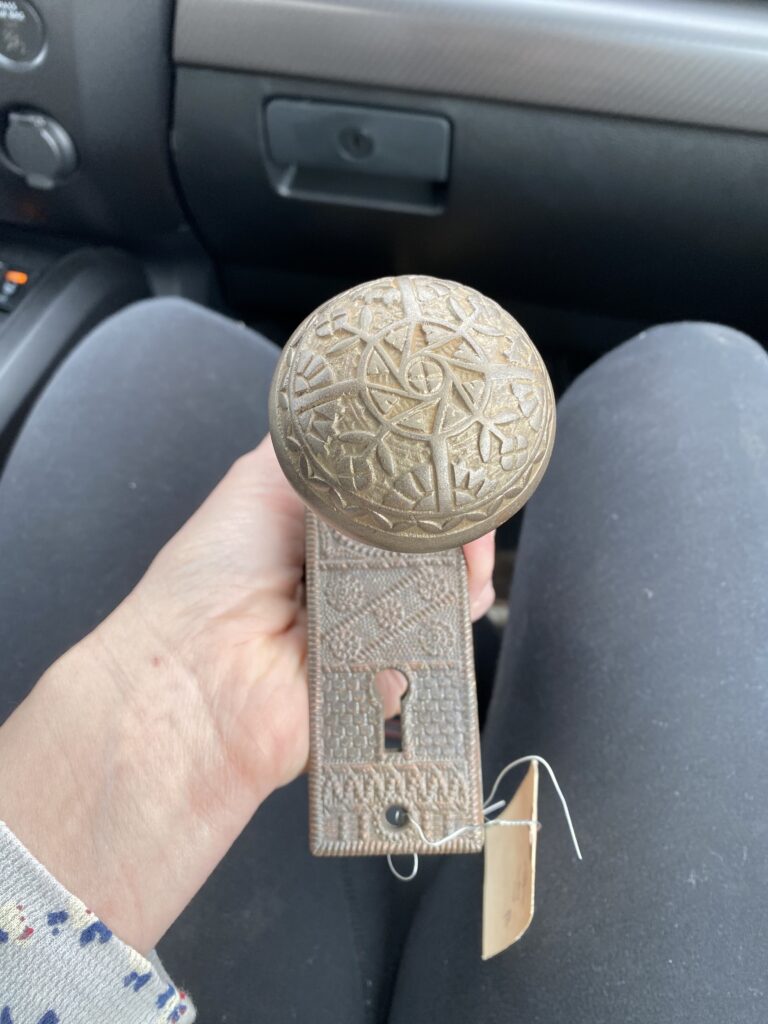
Inside the shop, they had hundreds of sets of doorknobs, plates, and hinges. We picked out a knob and plate that wasn’t original to the door, but tested and knew would fit. The intricacy of the knob was such a fun detail.
Looking for the wood underneath
When I got the door home, I knew I needed to see what was underneath all those coats of paint. Since I’d already redone the vanity for that small powder bathroom in a whitewash finish, I hoped there was beautiful wood grain underneath.
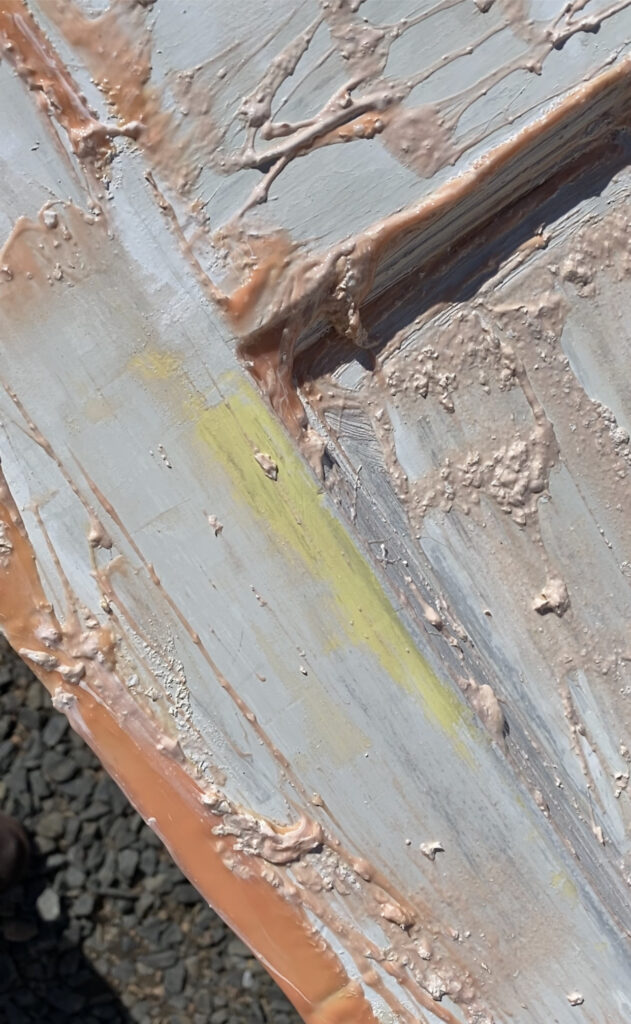
Because of the many, many, MANY coats of paint on this door, I used CitriStrip several times to get all of them all off. It was days of painting it on, letting it sit covered with a garbage bag (a way to make it more effective), and using a putty knife to take a few coats.
By the way, if you want to know why I use CitriStrip instead of oven cleaner, I cover it in the post about this raw wood dresser.
During this process, I learned that at one point the door was painted a bright yellow (maybe the 60s?) a forest green, and several coats later it was painted a beautiful, rich, coffee.
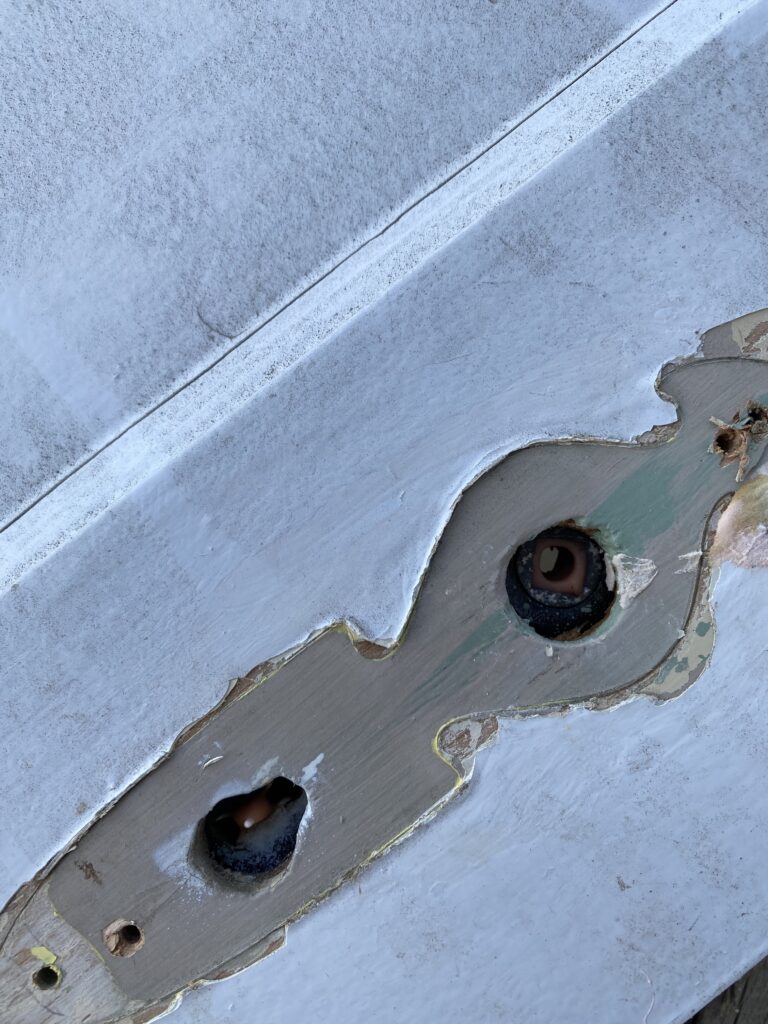
Mostly, it was just coat after coat of white. After days of stripping, I found the beautiful wood grain that I was hoping for.
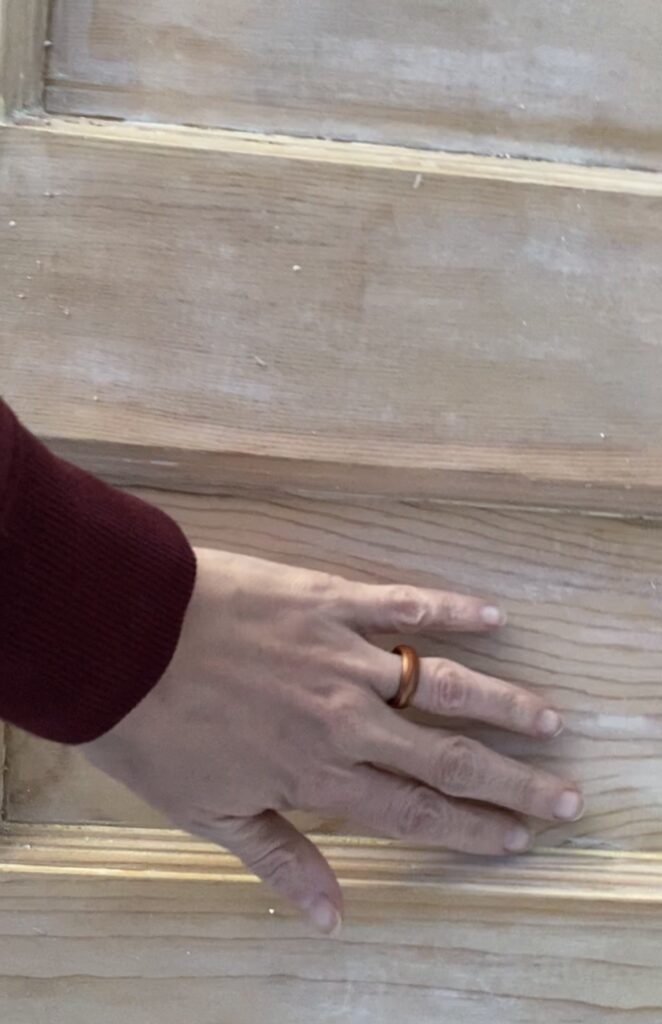
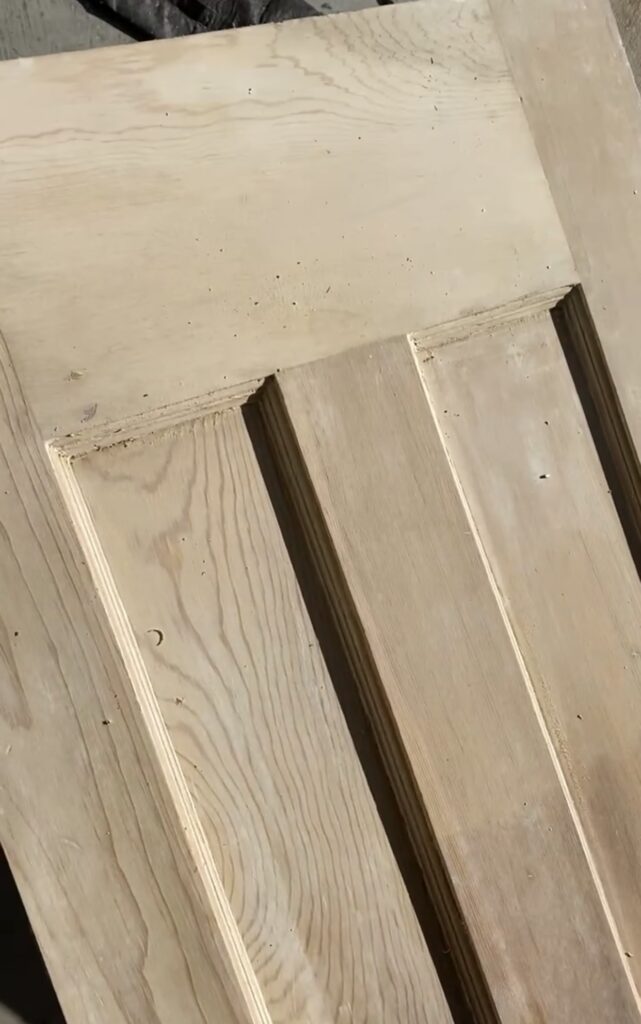

I used a fine-grain sandpaper and my sander to get down to the beautiful bare wood. It was really soft, so I was very gentle to not do any damage to the underlying wood.
Because it had been so long since the wood was exposed to air, I used a rag to do several coats of pre-stain wood conditioner. The wood drank it in like it was parched.
Staining the salvaged door
I used an antique white wiping stain to pull the color lighter to a really nice finish. But wanted to do so while still maintaining that stunning wood grain. I painted it on with the grain of the wood. Then I would pull it back off with a non-pilling rag until I got the color I wanted.
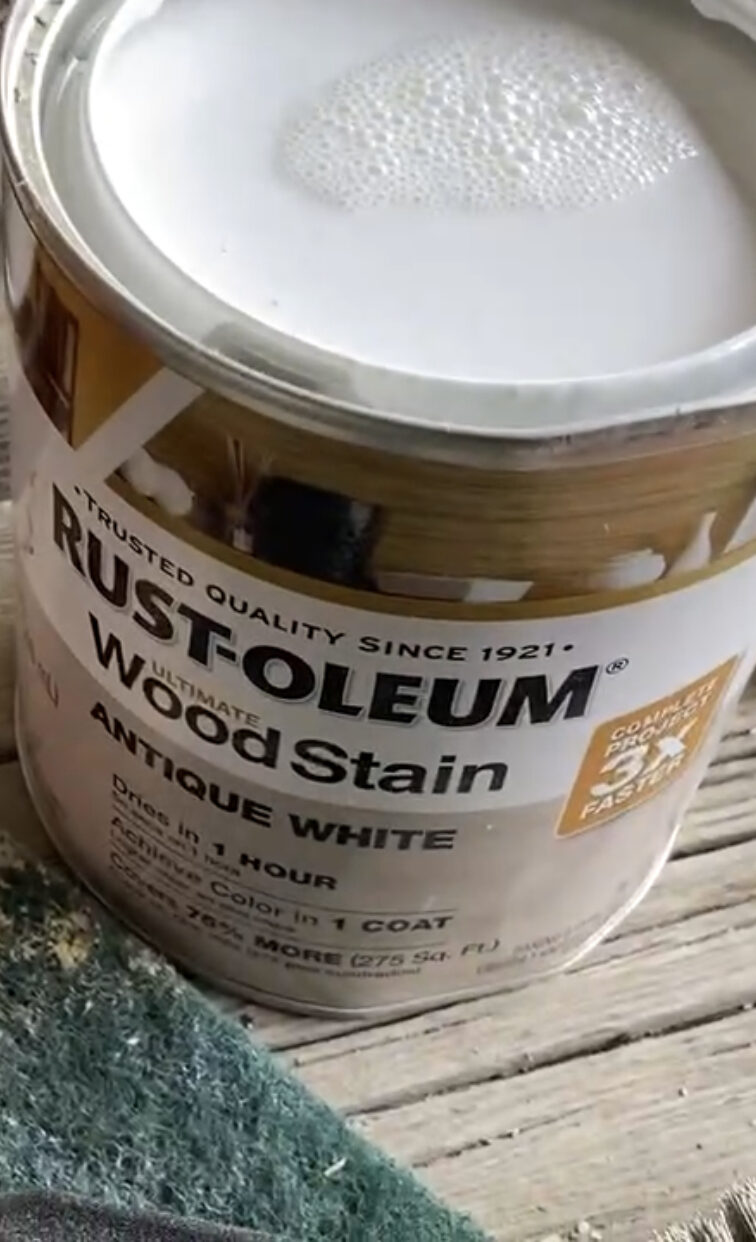
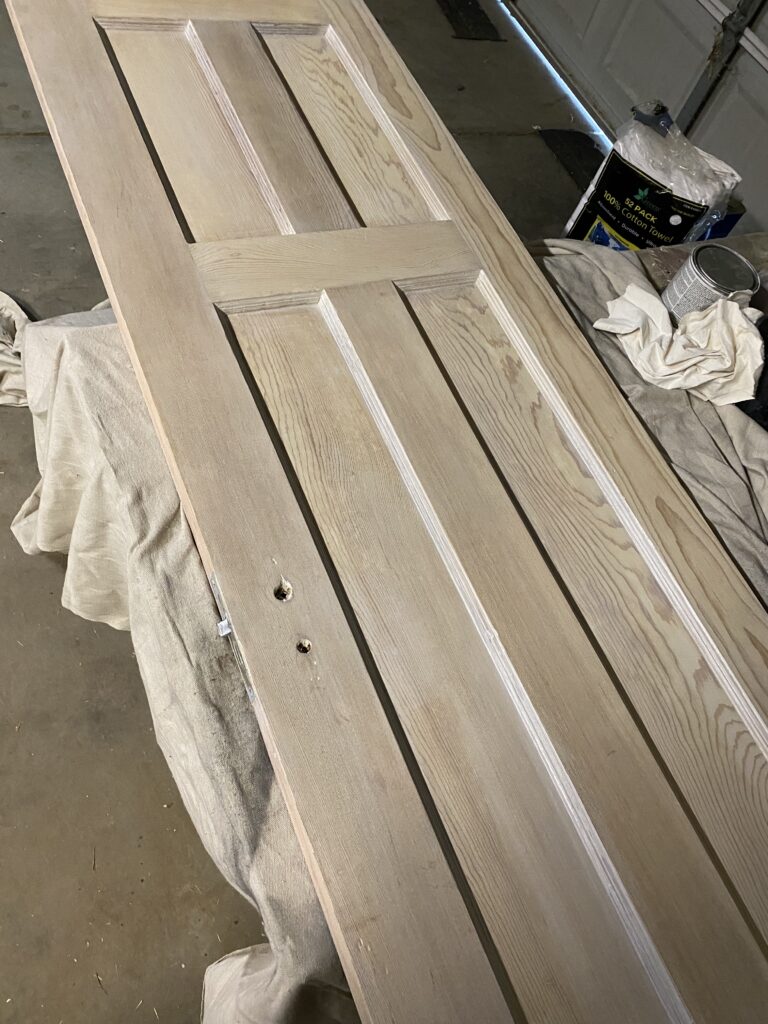
Once the color was achieved, I sealed it and got it ready to hang.
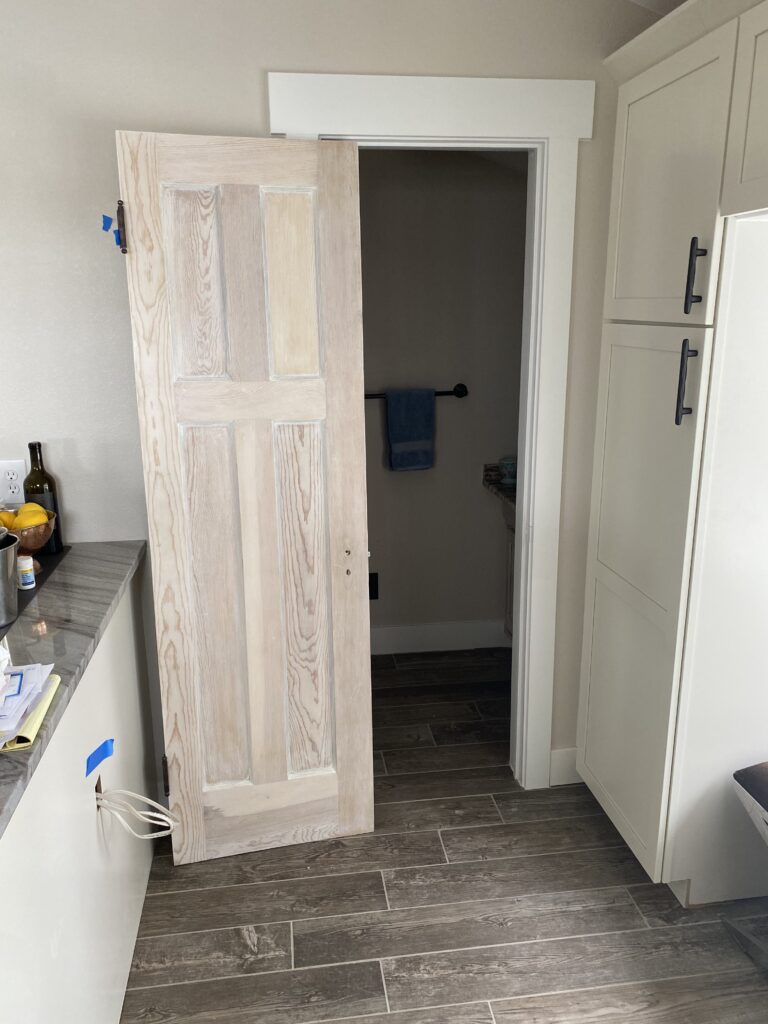
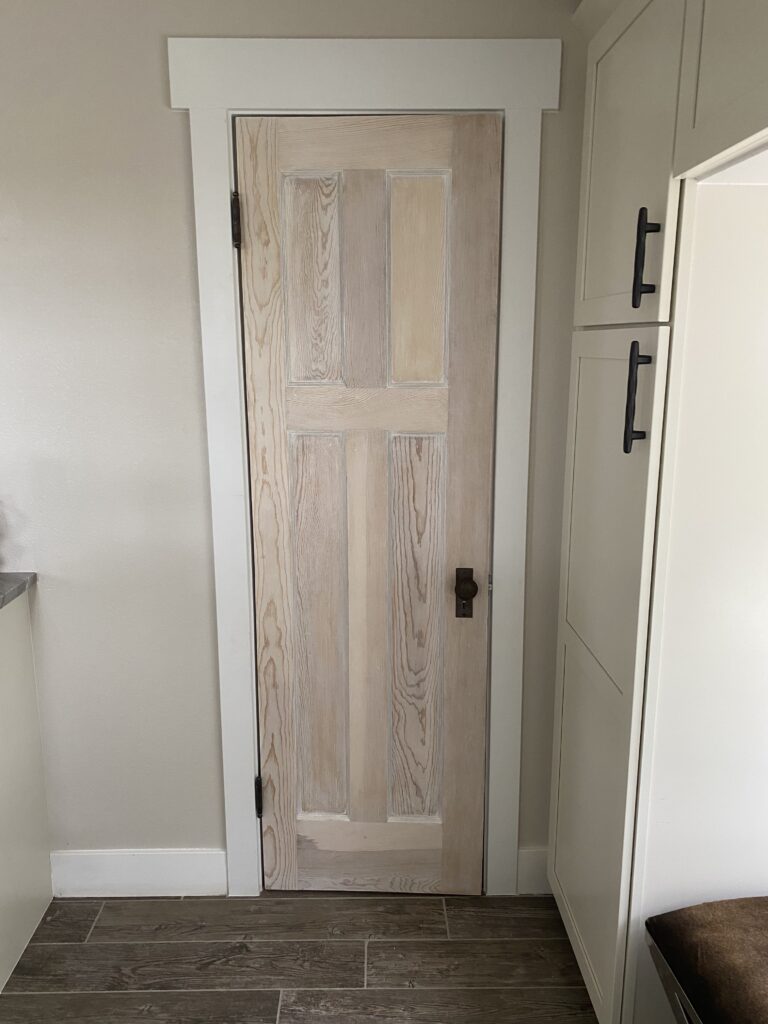
Once it was framed in, the door looked absolutely perfect. It was the perfect fusion of antique salvage and a modern farmhouse.
